Virtual Battlefield Tour
![]()
Click for scenes from the March 20, 2004 Tour by Ed Bearss.
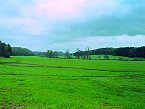
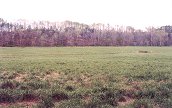
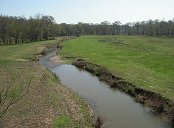
Camp Creek Valley - The site of heavy fighting on May 14, 1864.
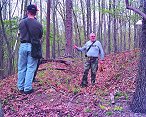
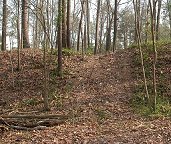
| Looking north through Camp Creek Valley. | A view of Camp Creek itself from mid-valley. | Friends of Resaca board members move uphill along the east ridge toward Confederate entrenchments. |
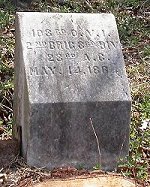
| FORB Vice-President Ken Padgett discusses an entrenched area as Secretary Tony Patton looks on. | Part of the vast network of entrenchments preserved on the battlefield. | The 103rd Ohio monument. The only marker placed on the battlefield by troops that actually fought here. (LARGE PHOTO.) |
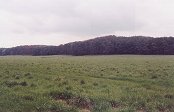
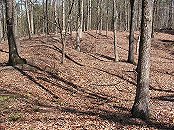
| Looking east toward the Confederate ridge line. This ridge is completely covered with trenches. (LARGE PHOTO.) |
Looking west toward the Union ridge line, likewise containing excellent entrenchments. (LARGE PHOTO.) |
Other Sites
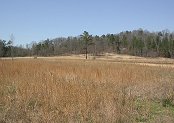
| Van Den CORPUT'S BATTERY: Views facing east and north. The site of very heavy fighting on May 15, 1864. The Confederates lost four 12-pound artillery pieces at this location. (VERY LARGE PHOTOS.) | HOOD'S ATTACK: Panoramic view facing north of the area where Hood's Corps swept Stanley's Division away on May 14 and where Hood undertook an abortive attack on May 15. (VERY LARGE PHOTO.) | McPHERSON'S ATTACK: Panoramic view facing north and west of the area where McPherson's Corps attacked on May 13 and 15. Bald Hill can be seen on the far left. (VERY LARGE PHOTO.) |
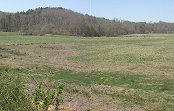
| KILPATRICK'S ATTACK: Facing south along Camp Creek toward the region where Kilpatrick's Cavalry Division advanced on May 13, 1864 against heavy skirmishing. | FORT WAYNE: Several images of the fortified area used by both Confederate and Federal troops at Resaca. The first artillery shots of the battle were fired from here. (SOME LARGE PHOTOS.) | |


